3️⃣ IllnessThere are a thousand diseases...but only one healthL. Börne
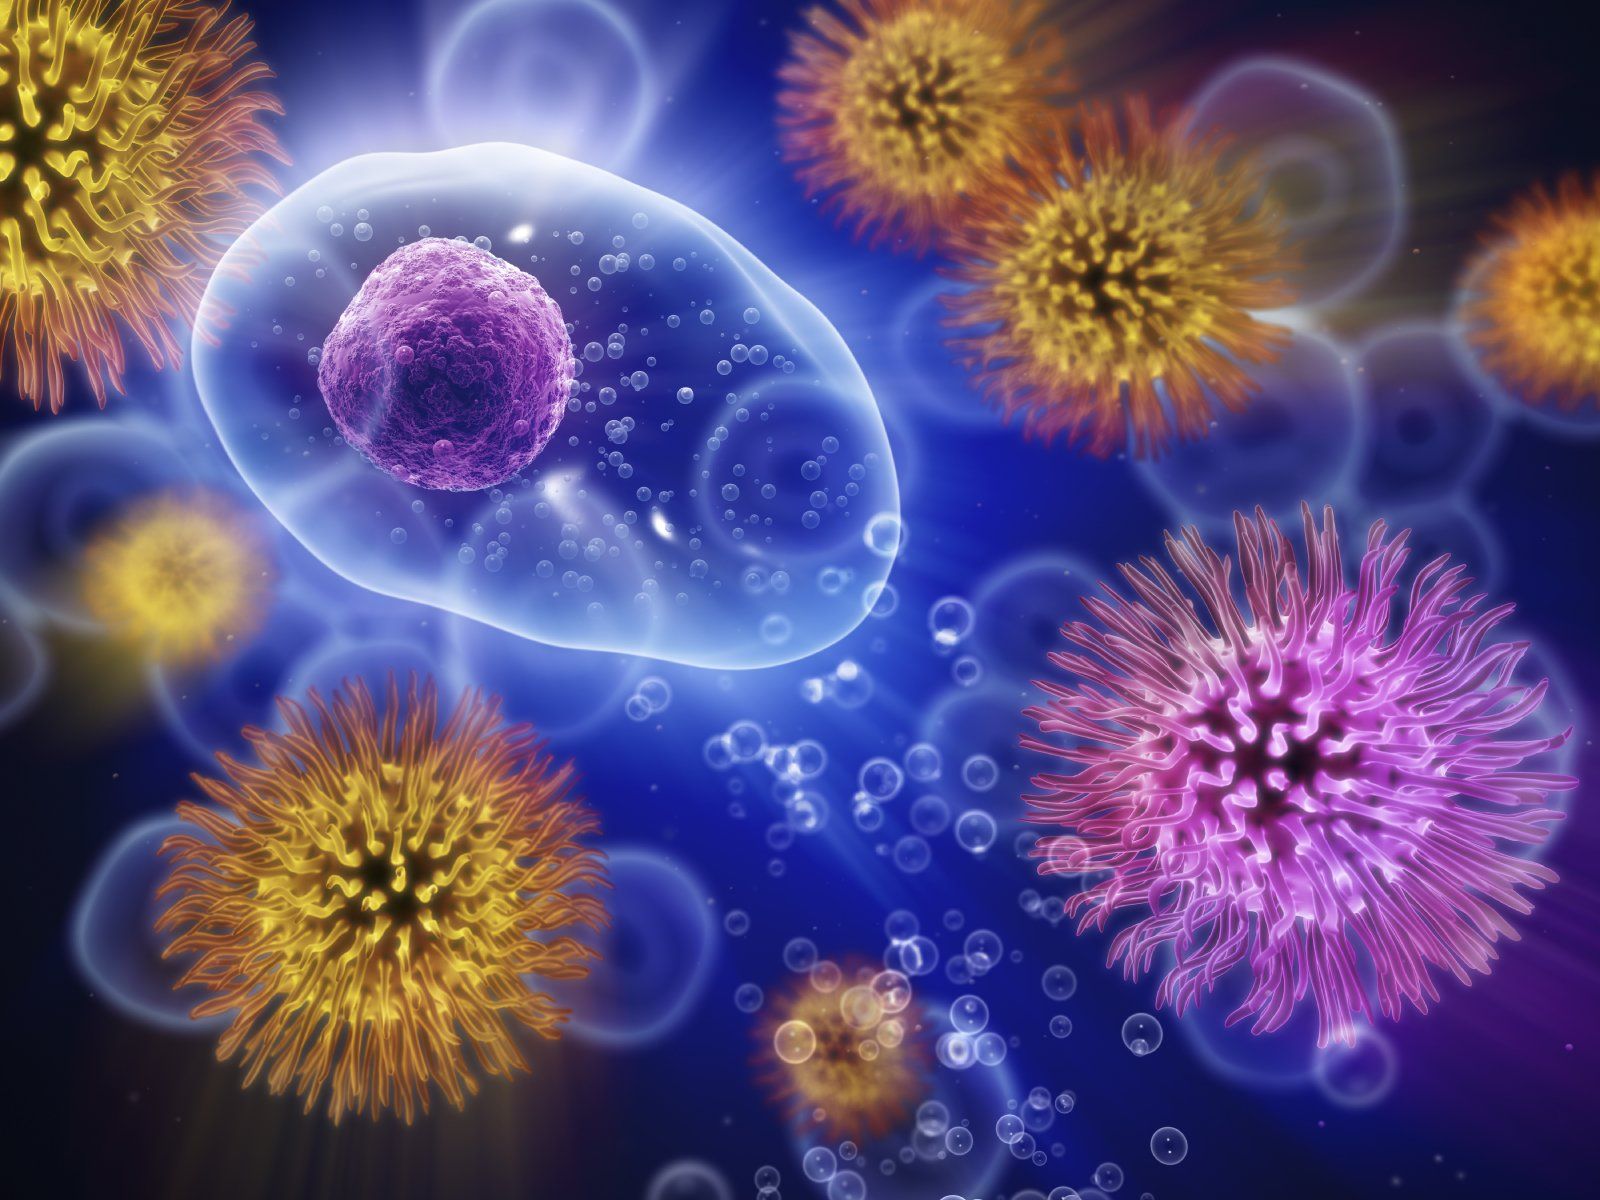
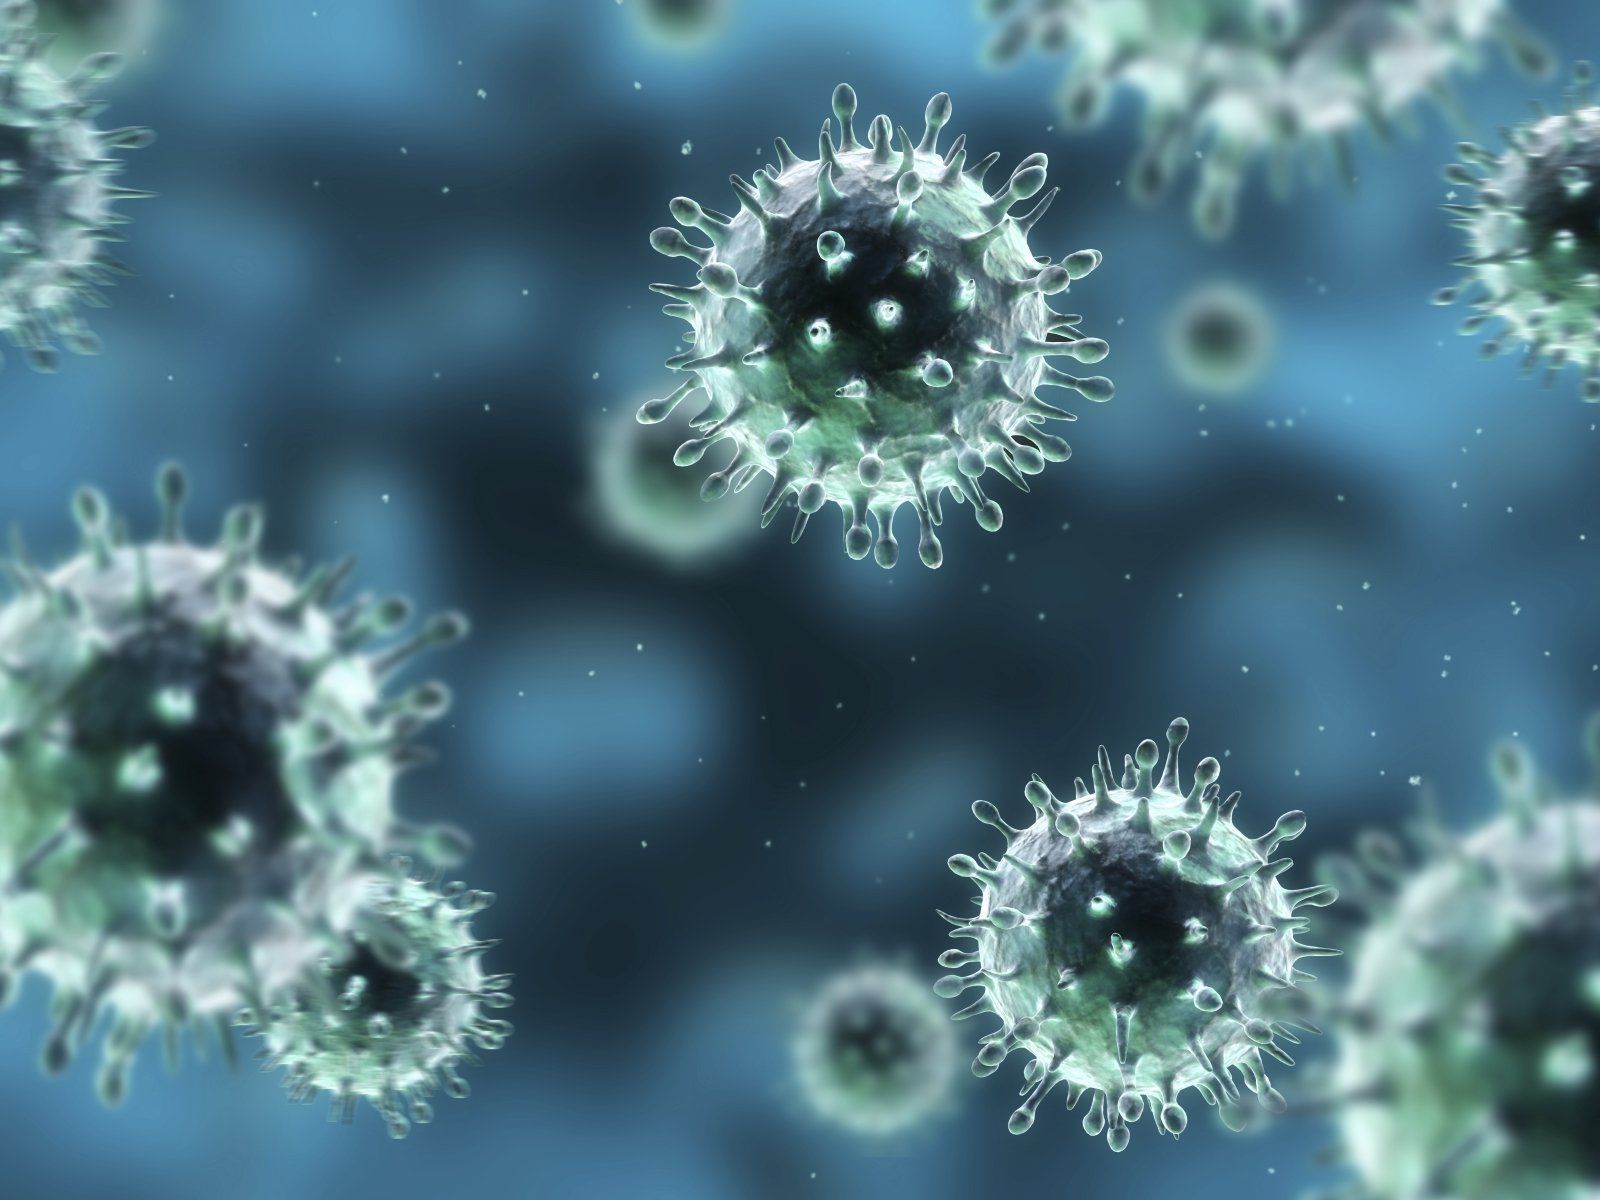
🔬 Grow your own bacteria
Grow bacteria like a pro!
Serviceliste
-
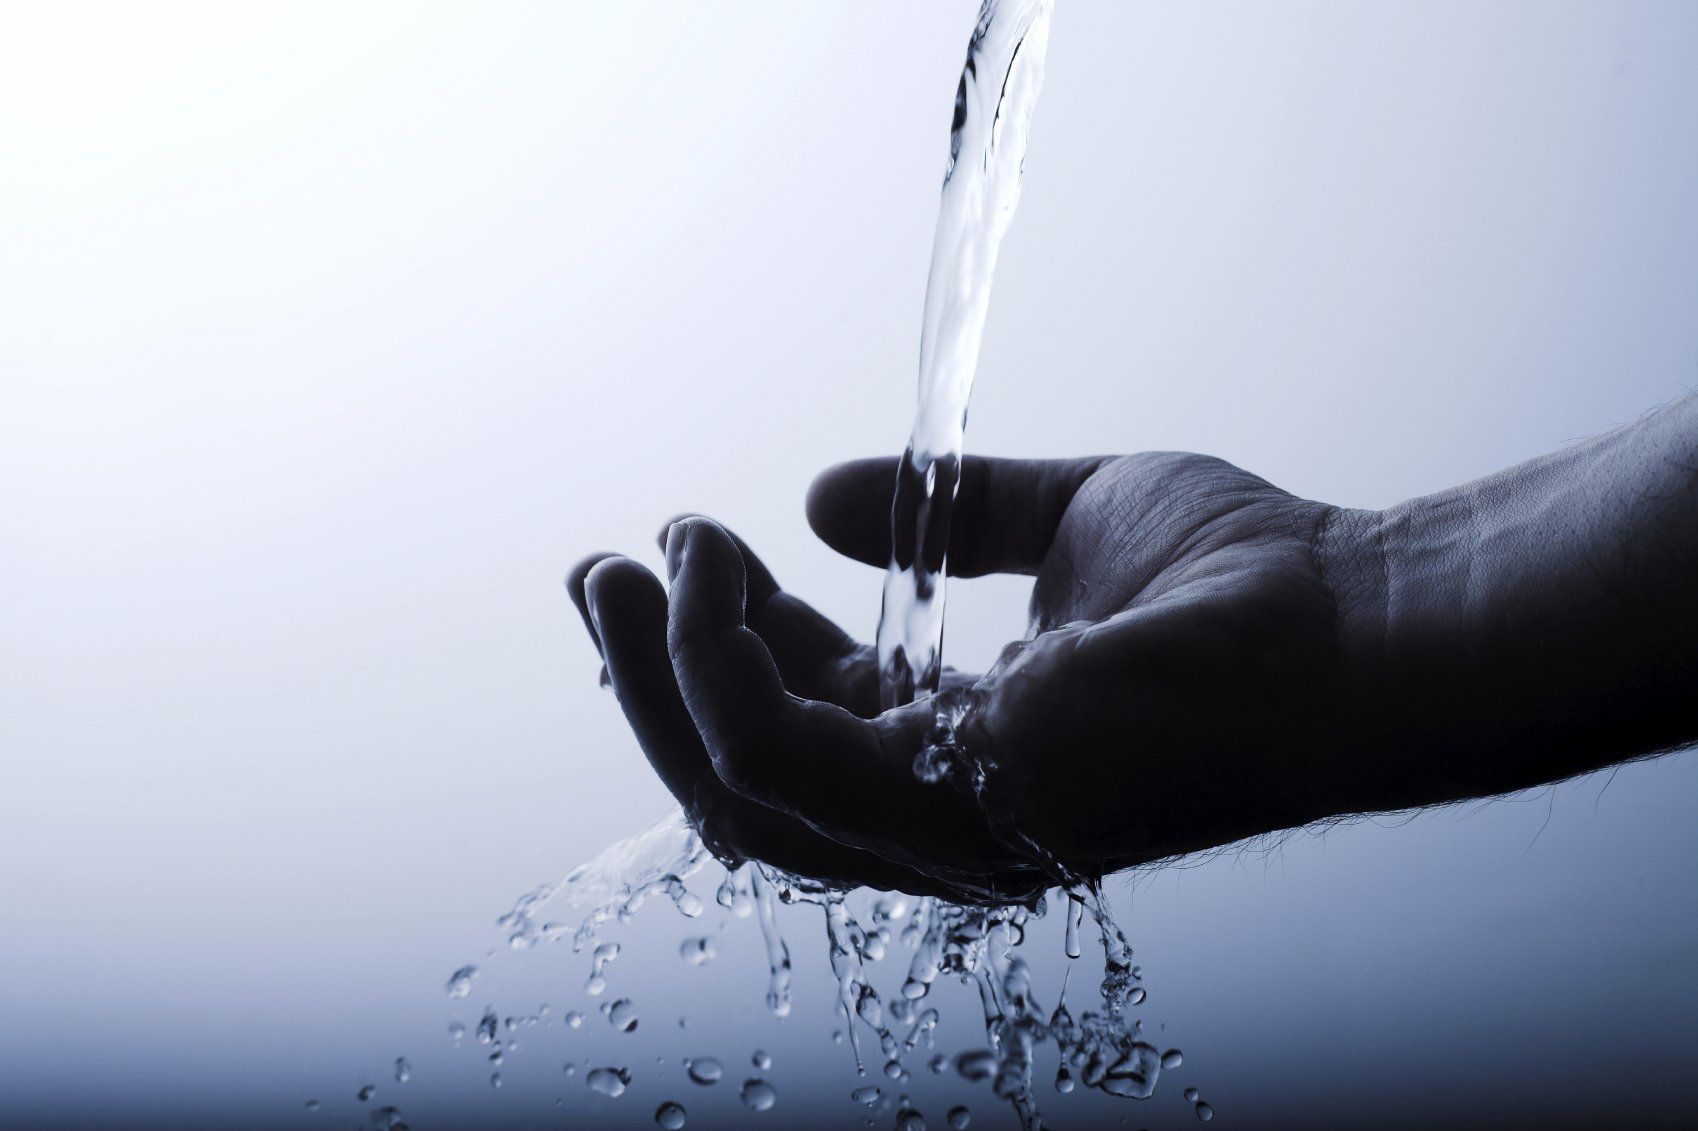
For the experiment you will need the following items:Listenelement 1For the preparation of culture medium: 3 Petri dishes, 10g agar agar, heating container, 180ml distilled water. Where do we find the most bacteria? Determine 3 different surfaces where you want to collect samples. 3 Petri dishes (either your own or store-bought), a pen, money, a telephone, a doorknob, 3 cotton swabs, distilled water, a camera.
-
Preparation1. The Petri dishes are clean and packed in a bag. The dishes are sterilized in a laboratory before use. In our case, we ensure that the dishes remain closed until use to prevent unnecessary contamination. 2. Agar is a gelling agent, similar to that used in the food industry (E406). Agar is a long-chain sugar molecule and is usually obtained from red algae. Bacteria and fungi need nutrients to grow, so our agar also contains a protein derived from meat.
-
ImplementationListenelement 3Caution: You should get adult help for this part of the experiment!!!! 1. Slowly bring the water to a boil and then gradually stir in the 10 g of agar agar, stirring until the gelling agent has dissolved. 2. This finished mixture can then be carefully poured into the sterile Petri dishes (do not put too much liquid in each Petri dish). After you have poured the liquid into the dishes, let them cool to room temperature for about 15 minutes. 3. Then place your finished Petri dishes in the refrigerator with the bottom side facing up. This ensures that the dishes do not become contaminated by condensation. 4. Petri dishes filled with agar can be stored in the refrigerator for several months. If you want to use them, they must be taken out of the refrigerator and brought to room temperature before use. 5. To be able to assign the dishes to the correct sample, it is important to pay attention to the correct labeling. Part 2 1. Now take your Petri dishes and place them upside down on the table. Using a felt-tip pen, label the bottom of the dish (preferably along the rim) with the location and date of the sample collection. e.g.: "Money 12.02.2020." Turn the dishes back over with the lid facing up. 2. Now you can start taking samples. To do this, moisten a cotton swab with distilled water (low-germ). Now stroke and roll the end of the swab over the area to be tested. Ensure that the cotton comes into contact with the sample area all around. 3. Open the appropriately labeled Petri dish and transfer the collected germs from the still-moistened cotton swab to the culture medium by drawing a zigzag line across the entire surface on the agar while rotating the cotton swab. Close the dish and discard the swab. 4. Repeat the process for the other two surfaces. ❗️ Caution: Use a new cotton swab for each sample. 5. Place the Petri dishes upside down in a box and seal the lid and bottom with two strips of tape. Store the closed cardboard box in a warm place (ideally 25 to 32°C) so the bacteria can grow. 6. Check the Petri dishes for growth every day. Do not open the dishes! You never know what might be growing there. 7. After 7-10 days (depending on the temperature), all bacteria should have grown sufficiently.
-
WatchListenelement 4a) Look at the samples every day and write down your observations. ________________________________________________________________________________________________________________________________________________________________________________________________________ b) Take a photo of the bowls every day to compare them. c) Do all the bowls look the same, or can you see a difference? ________________________________________________________________________________________________________________________________________________________________________________________________________
-
EvaluationWhich dish has the most bacteria, and what does that mean?
-
Here is the worksheet to print out ⬇️